Apr 30, 2013

Miniature Groups: Technology in use

Good Evenin'

I know I have not posted much lately but I did say nice weather less blogging ;P , I have been working on my swaps and working outside everyday..gardens are a lot of work but they are worth it in the long run.
____________________________________

Some of you may relate to my dilemma of being in the middle of nowhere are far as miniature groups go, I live it the shticks' and there are no groups, enthusiasts or dollhouse shops within 2 hours of me.

I had been kicking around this idea for a while now of creating a online miniature group that can utilize video. I thought of buying a licence for Skype since I use that for contact with a few friends over long distance but then I started to explore google + they also have a pretty interesting hangout option in where 9 people can "get together" as it where via video.


This of course can be used for those of us around the world in the corners of the planet ;) Time ratio depending since a few of us are day/night not just hours off.

I thought this could be used to share techniques, have a 2 week project in which we could all share photos and video. Meet ups 2 x a month maybe more.

I also found it interesting you could share your desktop in the video, so photos and possibly real time photoshop tutorials etc..


I have not worked out all the kinks, times, languages ;) but for the coming fall/winter months this might be something I will get into.

With new technology those of us across the globe can meet up and share ideas and keep our circle growing... even small ones :P

______________

oh also ...I did a snail, I love snails..


Apr 25, 2013

Felted Bunny: my first punch project

Eve'nin

I just wanted to procrastinate a bit and show you a couple of pictures of my first needle punched bunny, I took a class last night at the library and am now a needle felting addict!!!

I still have to work on him but as a start he's getting there ;P

He's not a mini bunny but I did not want to go crazy on my first try, so he's a "small" bunny I thought my daughter would like ;)

But I can see the mini applications to come:

 
You can see I worked a bit more on punch shaping his form..clay mind

 
I even did some underfur lighter thinking a belly

 
His face is simple, *shaddup*.. hes cute though ;P

 
Alrighty Jane...stop damn stalling and get back to work ;)


Apr 24, 2013

Garden Filling: Birdbaths

Good morning folks,

Before we do birdbaths, I wanted to show you 2 pictures of the amazing book I won from Jana over at http://illyriasminiatures.blogspot.com/ . I got her package in the mail and it was beautiful!
 
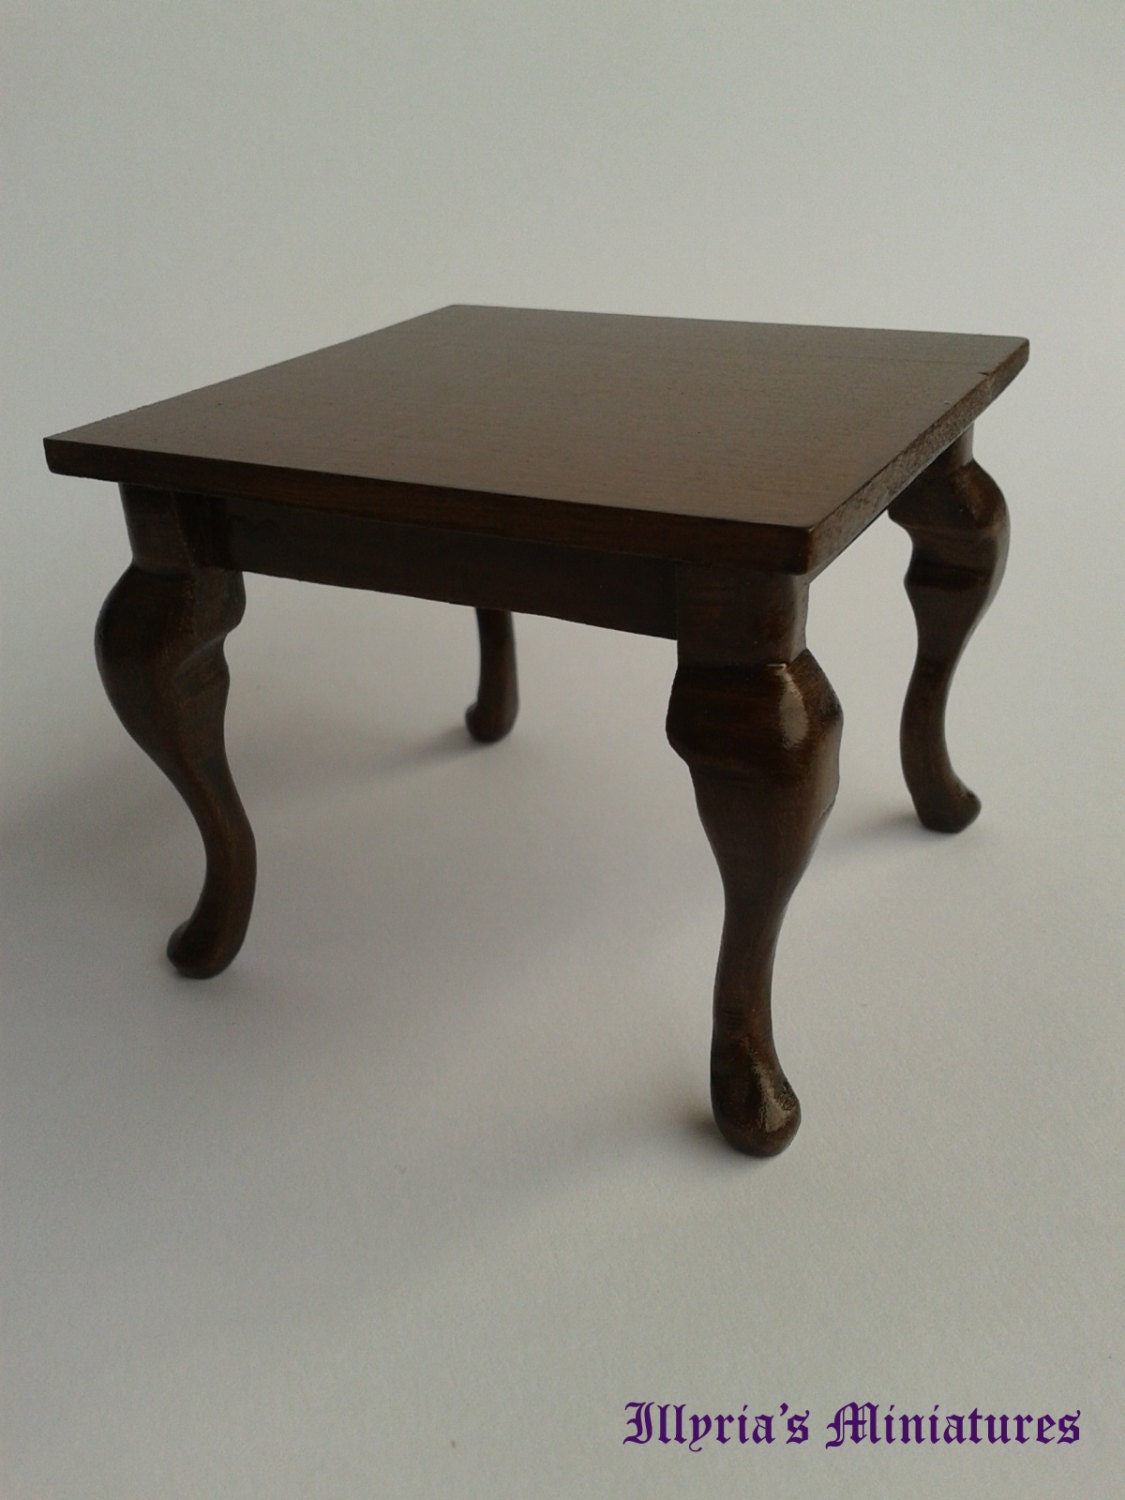
I decided to buy her table from Etsy, the one I blabbed on about because I thought it was so beautiful, in hand it is even more so!
 
Here is the wonderful little book she made, it is a gorgeous piece!
 Thank you again Jana!
 
____________________________________________________
 
 Alrighty, lets talk birdbaths! 
 
You see from above I have decided to create two simple birdbaths from clay. But of course you can combine wood with clay, plastic pieces with clay, it all glues together... and once your paint is applied, you wont be able to tell ;)
 
So just break down your favorite picture of any birdbath to create the shapes:
 
I decided to make a simple shallow mold for the one bowl part of one birdbath. Remember to search your house like we did on Mold Making:
 
I used a drawer knob ;) 
 
So here is my dish mold
 
You would simply flatten out a piece of clay, cut a circle, for this one and press into the mold.
 
If your saying now, I don't have cutters..did you look around the house? Here are some of mine, yes those are plastic caps ;)
 
The hard part is going to be your bird bath bowl shape, so for that one molds would do nicely and twice bake if you want to make something more intricate.
 
You can also surround a tin foil shape or a large marble to get your rounded shape and add details to that.
 
Now for the base and middle, You can use a wooden dowel, a chess piece, a long discarded cap, just look around and use that mini eye and see the detail after you have painted it, of course I decided on clay for this round...SHOCKER!!
 
If you want to add detail via multi bakes do that before you, sand the rough spots and glue your pieces together in whatever order you like.
 
I just used a bunch of scrap clay because the next steps will be to paint in layers, maybe use crackle maybe shabby it.. but I like applying paint to look weathered.
 
SO I added one base coat of white, smeared a bit of grey, then more white on the first. The second one I coated black, then I just dabbed on grey to simulate peeling. Straight flat acrylic.
 
I hope this helps, we will continue our journey with a raised garden next time.
 
Let me know how you do :)
 
***Ps my nails are jacked up...WHY didn't you TELL me??? *lol***

Apr 23, 2013

Amazing Blogging Friends: Plushpussycat's Surprise Gifts

Good morning folks,

Thanks for those of you who want to swap, I have contacted the three ladies I will swap with for this round: Drora, Kim and Mary .. Please check your email ladies..maybe junk folder ;)

I will also address the bird bath, the marbling on wood, raised beds and a pond in the next week and weekend thanks ladies for the suggestions. I might get into the 3d effects Jenny ;P
____________________________________________


Mrs Jennifer, aka Plushpussycat the lovely gal, has sent me a amazing surprise package!

We know blogging friends are some of the greatest and I am honored to have this gal as one of them.

I want to show you the wonderful package she sent off to me and then you can have a look at some of her amazing stories that she has created Story Greeting Cards  with her lovely little friends like Flossy the bunny.

As you can see Jennifer loaded up a package full of love and ideas for me, I think she knows I get creators block, so she has not only sent me amazing hand crafted miniatures but also quite a few items for me to create wonderful miniatures that I will need to finish up my rooms.

I just realized she also sent me a wonderful little pumpkin dodad..but I believe my daughter has stolen it..lol I think she took it to school! She did say Oh mommy I love this..and now its gone, oh well next time ;)
 
You see here some of her amazing cloth crafting from the pillows to these wonderful little tea towels, cookbook and awesome cookie cutter ;)

Here is an array of amazing crafting glitter she has sent off to me and these doilies and just beautiful!

I thank you Jennifer for sending this amazing package to me, you brought much happiness to my day honey!

Remember folks, we in our little community find the most amazing and artistic friends,

Keep this circle growing!

Apr 22, 2013

Warm weather, less blogging: Lets swap?

Good morning folks.

The weather here has been gradually getting warmer, I find myself going outside for more of my free time, although I have a lot of "mini" ideas for the summer months my spring mini ideas are a bit on the back burner as we are prepping our vegetable garden carrots, peas and lettuce are planted :).. and working around the yard.

We have a large population here of white tailed deer, and while there are forms of "deer resistant" plants..these goshdarned deer around my house love to eat those "resistant plants" apparently they did not resist so much...

So we have decided to surround our acre of yard space in cattle fence along the tree line. This is going to be quite a lot of work but at this point in our yard space..its like a all you can eat buffett.
______________________________

Anyways on to the little things in life, I have several little projects in mind but I think I might only be able to get one going:

Placeable, vegetable rows with veggies and dirt
Placeable, box garden with veggies.
Placeable, raised garden bed
Placeable, birdbath with dirt..plants butterflies..

If anyone has a preference on the next project let me know..I was leaning towards creating our own birdbath with simple molds and clay but if there is a overwhelming preference we can go with that.

...........Also maybe we should set up a few swaps, unlike my valentines swap I think I will let you decide on what you want...and you can make me whatever you like to make ;)

That way it gives me more creative range and I get a surprise ;P

So for now, let me know what project you would prefer and if anyone is interested in a swap I will do three swaps like last time, let see who is interested.

Email me, message.. comments or on plus

Have a great day!


Apr 17, 2013

The world is a big place:

Good Morning,

I want to express my sadness and love for anyone who may be dealing with the tragedy from Boston.

Terrible things happen all over this world of ours, we as people feel for those across thousands of miles, we all cry for each others children and express love and concern for people who are dealing with loss.


Although our mini community may seem small at times remember that we, even as a small group are working together as people across the world. All colors and beliefs, we share love to our other bloggers and make a statement just by sharing this love across these divides.

Thank you, fine folks, for being friends.      Jane


NO MORE HURTING PEOPLE
PEACE
 

Apr 14, 2013

I won, I won, I won , Illyria's Miniatures Birthday Givaway!

Good Morning Folks,

I wanted to thank all you fine folks for your well wishes from my illness yesterday. I think it might accually have been food poisoning to tell the truth, no one else is sick and I feel better today.

Thanks again ;)
___________________________________________________________________

So you all know that fine lady over at Illyria's Miniatures, well she had a birthday giveaway and produced 2 prizes, The main draw and a secret prize!

I won, I won , I won , I won! look at this amazing book that will be coming my way!
isn't is just exquisite? 
 
Illyria has been creating amazing miniatures for quite a while now, I want to show you her first post and creation that I saw her do..mind you this is her first work and they are amazing!
 
Now that was her first try!..that's what got me hooked as one of her followers.
 
She has been creating a few pieces of amazing furniture, and I was in love with this little table she created since I saw her production of it on her website, she finally decided to start selling them.
 
Hand crafted OOAK table
 
She did have a larger one..but when you have amazing hand crafted stuff for a great price..then it gets scapped up :) https://www.etsy.com/shop/IllyriasMiniatures
 
Thank you again Illyria for your wonderful giveaway! 

Apr 13, 2013

Garden Tote: Step Three : Gloves and Shovel

Good Evening...noon..morning?.. I think I have a stomach virus...I feel like ****...well... in more ways than one...

^^I am going to regret typing that one day when my mind and body isn't suffering from delusions, cramps and headaches...^^

Anyways on to the happy! *lol*

 
So if you fine folks were following along at this point we should all have a nice little scene or pieces growing to our garden collection.

 
You may have already worked on your gloves, but I want to show you a quick option for a simple scene,,in which you can improve on since I am ....uhhhhgggg sick.
 
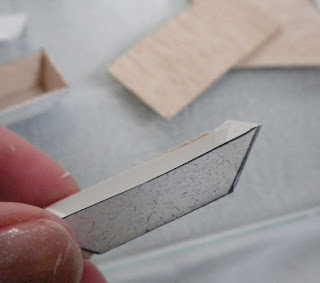
I started by trimming the sides of the glove to the line, and rounding off the fingers. You can then glue your card stock form to a scrap of cloth thinking the cloth as the top of the glove. Wrap the sides around the thumb and pinkie as I have done for a cleaner line.
 
Then after your cloth dries to the paper and your sure its a you can trim out the fingers
 
The next step is more of a work in progress but consider adding a 3-d effect to paper to give your glove form. By crimping the glove and adding lines you will be adding a puffed effect to the cloth side
 
This glove looks more rounded on the fingers and cuffs..if the picture picks up right ;/
 
The same technique can be done with the paper glove..just think of the printed side as your show side. You may want to use two sides and make a more classic glove here but I will stop here..as I might pass out...swoon ;P
 
Notice the green glove is from my printies: 
 
Ok on to the shovel:
Obviously there are many different ways of making a simple shovel:
 
The main components are going to be:
A little piece of wood
Some wire or metal jewelry eye ..er things..
Then you can choose paper, clay, wood, tinfoil or sheet metal.
 
The one I choose to do is the simplest one, cut some paper and paint it. Here is where our little shovel scale thing will come in handy as you can choose a material and just scale as needed.
 
As you can see I folded a piece of scrap card stock and cut half to make two sides.
 
The by gluing your wood and wire piece to the shovel you can make a nice little version or color your mind can conjure. I have painted this will metal paint and green to match my basket.
 
 
Ok I am going to go crawl into the corner and cry like a whiny baby now....
We will work on some extras next time like boots...umm stuff...toilet paper...er I mean pots.
to be continued...

Apr 11, 2013

Garden Tote: Step two :painting and hat making:

Good evening folks,

To continue from yesterdays Step One: we will discuss paint finish and straw hat making.

I know a lot of you are into shabby chic finishes so this same info applies to that category but I will focus on crackle:


As you can see here I have three finishes done with the same technique and it is how I decided to do my tote: 
 
You will want to apply a base coat of any color you want to show through a bit, shabby chic is done pretty much the same way by multiple coats, sanding open spots and crackle.
 
I have applied a white coat first, let that dry, then you apply a thin layer of glue, I like wood glue! *smirk* but Elmers works also
 
Then after that glue is thinly applied you add whatever color paint you prefer, in my case green. and set to dry, that crackle will form as it dries since as the glue dries it will stretch the pigment.
 
You can add a loop handle to your tote/ basket, I have not done this yet, I might put on a looped wire handle or one outside..I am not decided
 
You can then add a liner, use the same printed pattern I provided yesterday, but cut it down a bit more and dry fit it to make sure. but if your doing a handle inside. place that first of course.


As you see above I have my seed packets started, you can add some gloss to them in thin coats for a shine, I also have a few versions of a straw hat.
 
If you have seen my video tutorial on cornucopia wrapping, I did back in November 2012 you will notice that this is the same technique by forming a mold out of tin foil, and wrapping string around your form..
...and yes..this is how I have always done my baskets..for you long time readers :)
 
So start by making a hat form
 
you can then add tissue paper tot his form, a bit of cloth or you can just add plastic wrap and start twisting. Make a small loop with glue hold it till it dries.
 
Add a load of glue all over your form, or add it in stages on each wrap. once you get the cap part done you might want to let it dry a a bit, or blow dry it if you are impatient like me. ;)
 
The you can complete your form, make sure each loop has stuck to the previous.
 
You can decorate it or paint it after it has fully dried
 
 
We will continue tomorrow with gloves and the small shovel, Enjoy!
 
______________________________________________________
 
Of course I forgot again..to mentions that lovely lady over at Illyria's Miniatures gave me a award, I never know what to do with these, but luckily she has provided some info for me ;)
 
 
Now to link 5 people that I love to read with -200


Apr 10, 2013

Garden Tote: Step one :printies and cutting:

Good Morning folks,

I thought we would work on a garden tote and scene together. I will span it over a couple of days in case we (me) need breaks in between ;P

The plan will be to create:
  • Garden Tote:
  • Small shovel
  • Seed packets
  • Garden gloves, cloth or paper
  • Straw hat
  • Pots, plants other decorations.
  • Maybe some rubber'esk boots created with polymer clay


Here is a full page printie to get us started: This printie will assist us in the next few steps and also can be used to alter your plan or use for future garden decorating.

Full page printing as picture no scaling. Save to desktop. You might want to "open in new tab" and enlarge also

Now I know you will have some cutting and decision making here so this is what I was thinking.
 
You can cut the tote from paper I have already applied a wood graphic to, you can use double prints to make inside and out or you can use the top template for wood cutting.
 
Now I tried a few options with this plan I like using thin balsa wood for this item, but you can choose with the different options.
 
If you use the template you can cut it and trace as follows: Full template trace, then cut pieces
 
Cut individual pieces trace / cut
 
As for assembling the wood this also can be done in different ways: Glued wood to wood
 
Glued wood to the paper template: easier than wood to wood
 
Or of course paper by using cardstock, paints or the prints I have provided.
 
I will talk more about finishes and paint options tomorrow. For now good start ;P
 
 
You can prepare your seed packets by using straight card stock or plain paper colored paper..you can add some bulk to them if you like... sand/seed beads/or just bend a bit.
 
The other items are for us to use for scale and planning:
 
 
To be continued.....................
 
 
OH.. let me know if there are any problems with the graphics or the printie thanks!